...
Sub-Step # | Instruction | Screenshot |
|---|---|---|
3.1 | Open your Outlook app. If you already have an email account set up, you will have to add a new account through the settings. Tap the account icon on the top left of the app. |  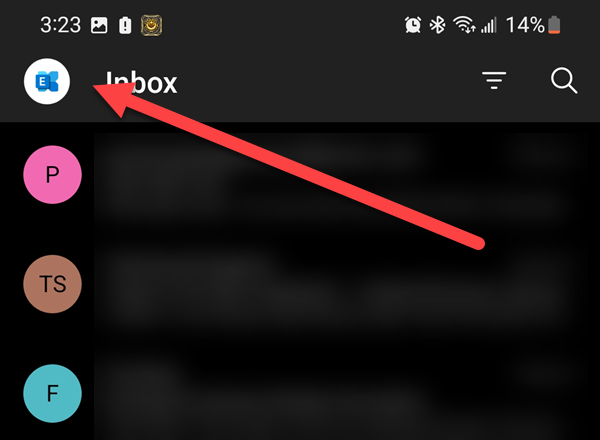 |
3.2 | On the bottom left of the fly-out menu, tap the Gear icon. |  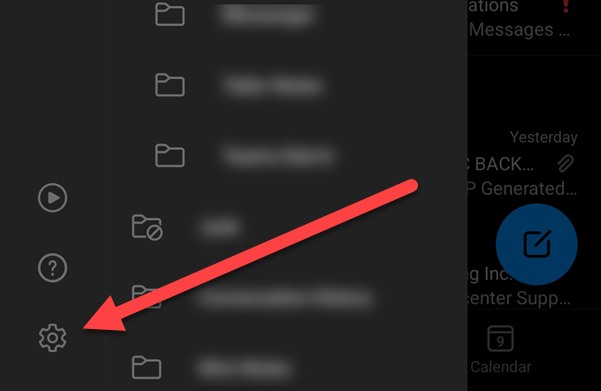 |
3.3 | You will see any accounts you already have added. Tap ADD EMAIL ACCOUNT. |  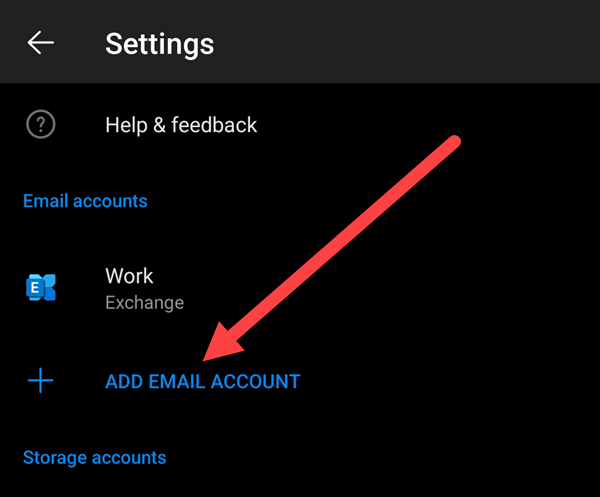 |
3.4 | On the pop up on the bottom, tap Add an email account. | 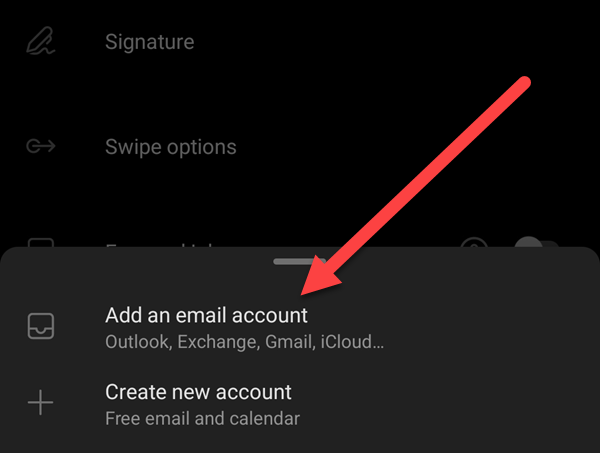 |
3.5 | Outlook will try to find email addresses already set up in other applications. We will ignore those. If it doesn’t see any accounts and are asked to enter your email address, skip to step 3.7. | 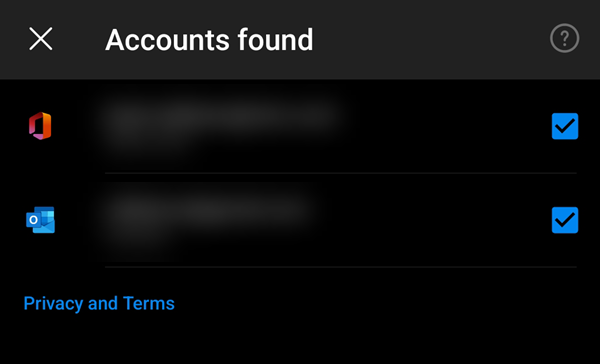 |
3.6 | Look to the bottom of this screen, and tap SKIP THESE ACCOUNTS. |  |
3.7 | Enter your email address where asked. | 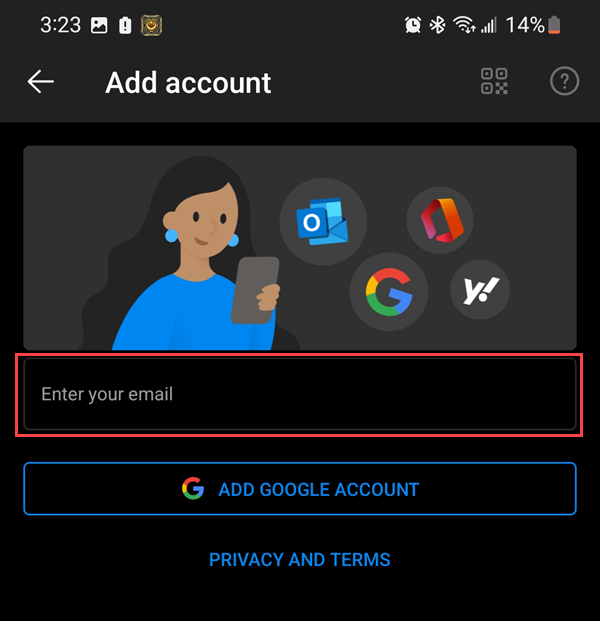 |
3.8 | Once you have entered it, tap Continue at the bottom of the screen. 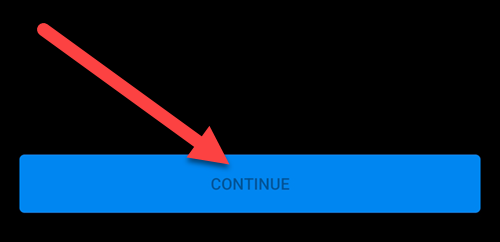 | 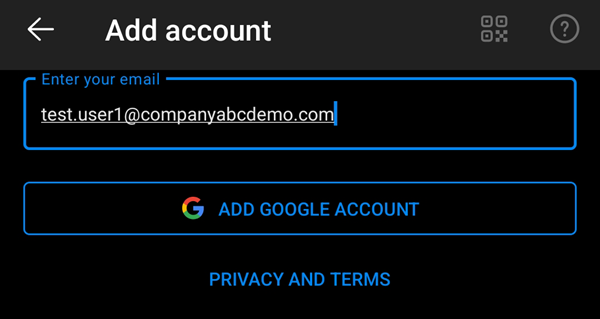 |
3.9 | If you are presented with the Choose Account Type screen, you can move to step 3.11. If it shows Connect IMAP, on Android, click the question mark on the top right. On iPhone, you would tap Not IMAP. |  |
3.10 | At the bottom of the screen, tap Change account provider. | 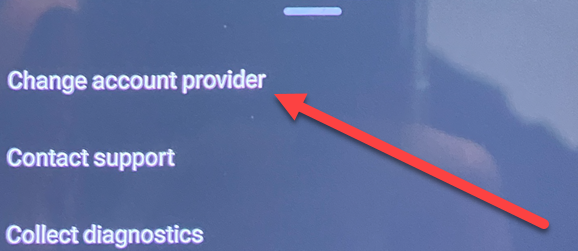 |
3.11 | On the Choose account typescreen, tap Exchange. | 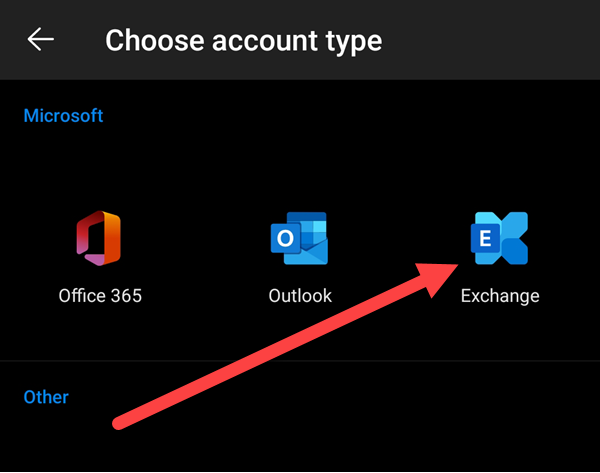 |
3.11 | Your email address should already be entered. Enter the following information: Server: webmail.poweredbynirix.com Domain\Username: Your email address again. If that doesn’t work, you may have to use your User Name found in oCCP. IE: nirixhosted\test.user1_ABC Password: Your NIRIX services password. Description: A identifying description of this account. IE: Work or Business Once done, click the Check Mark on the top right. 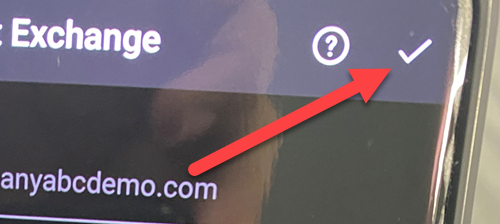 Note: Make sure there are no trailing spaces after your email address or the server name | 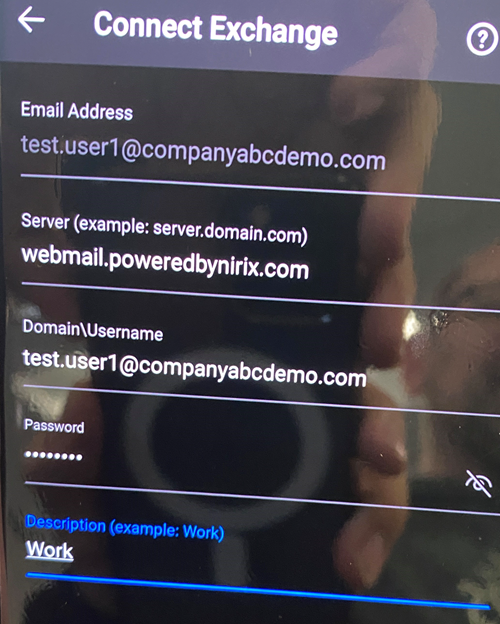 |
3.12 | Your account should be added! | 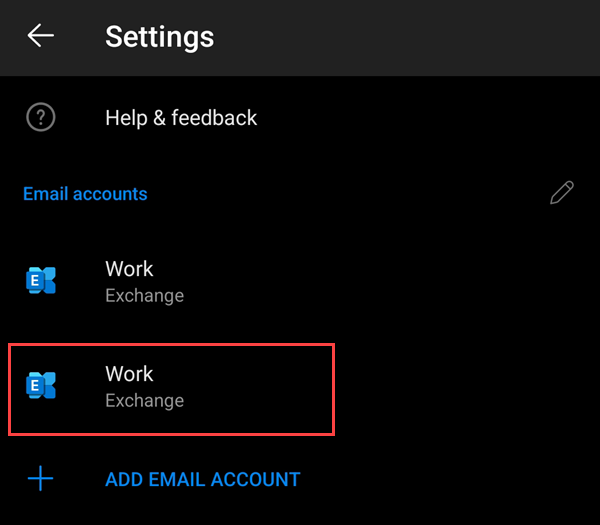 |
...
Sub-Step # | Instruction | Screenshot |
|---|---|---|
3.1 | Open your Gmail app. Tap the side bar icon on the top left of the screen. | 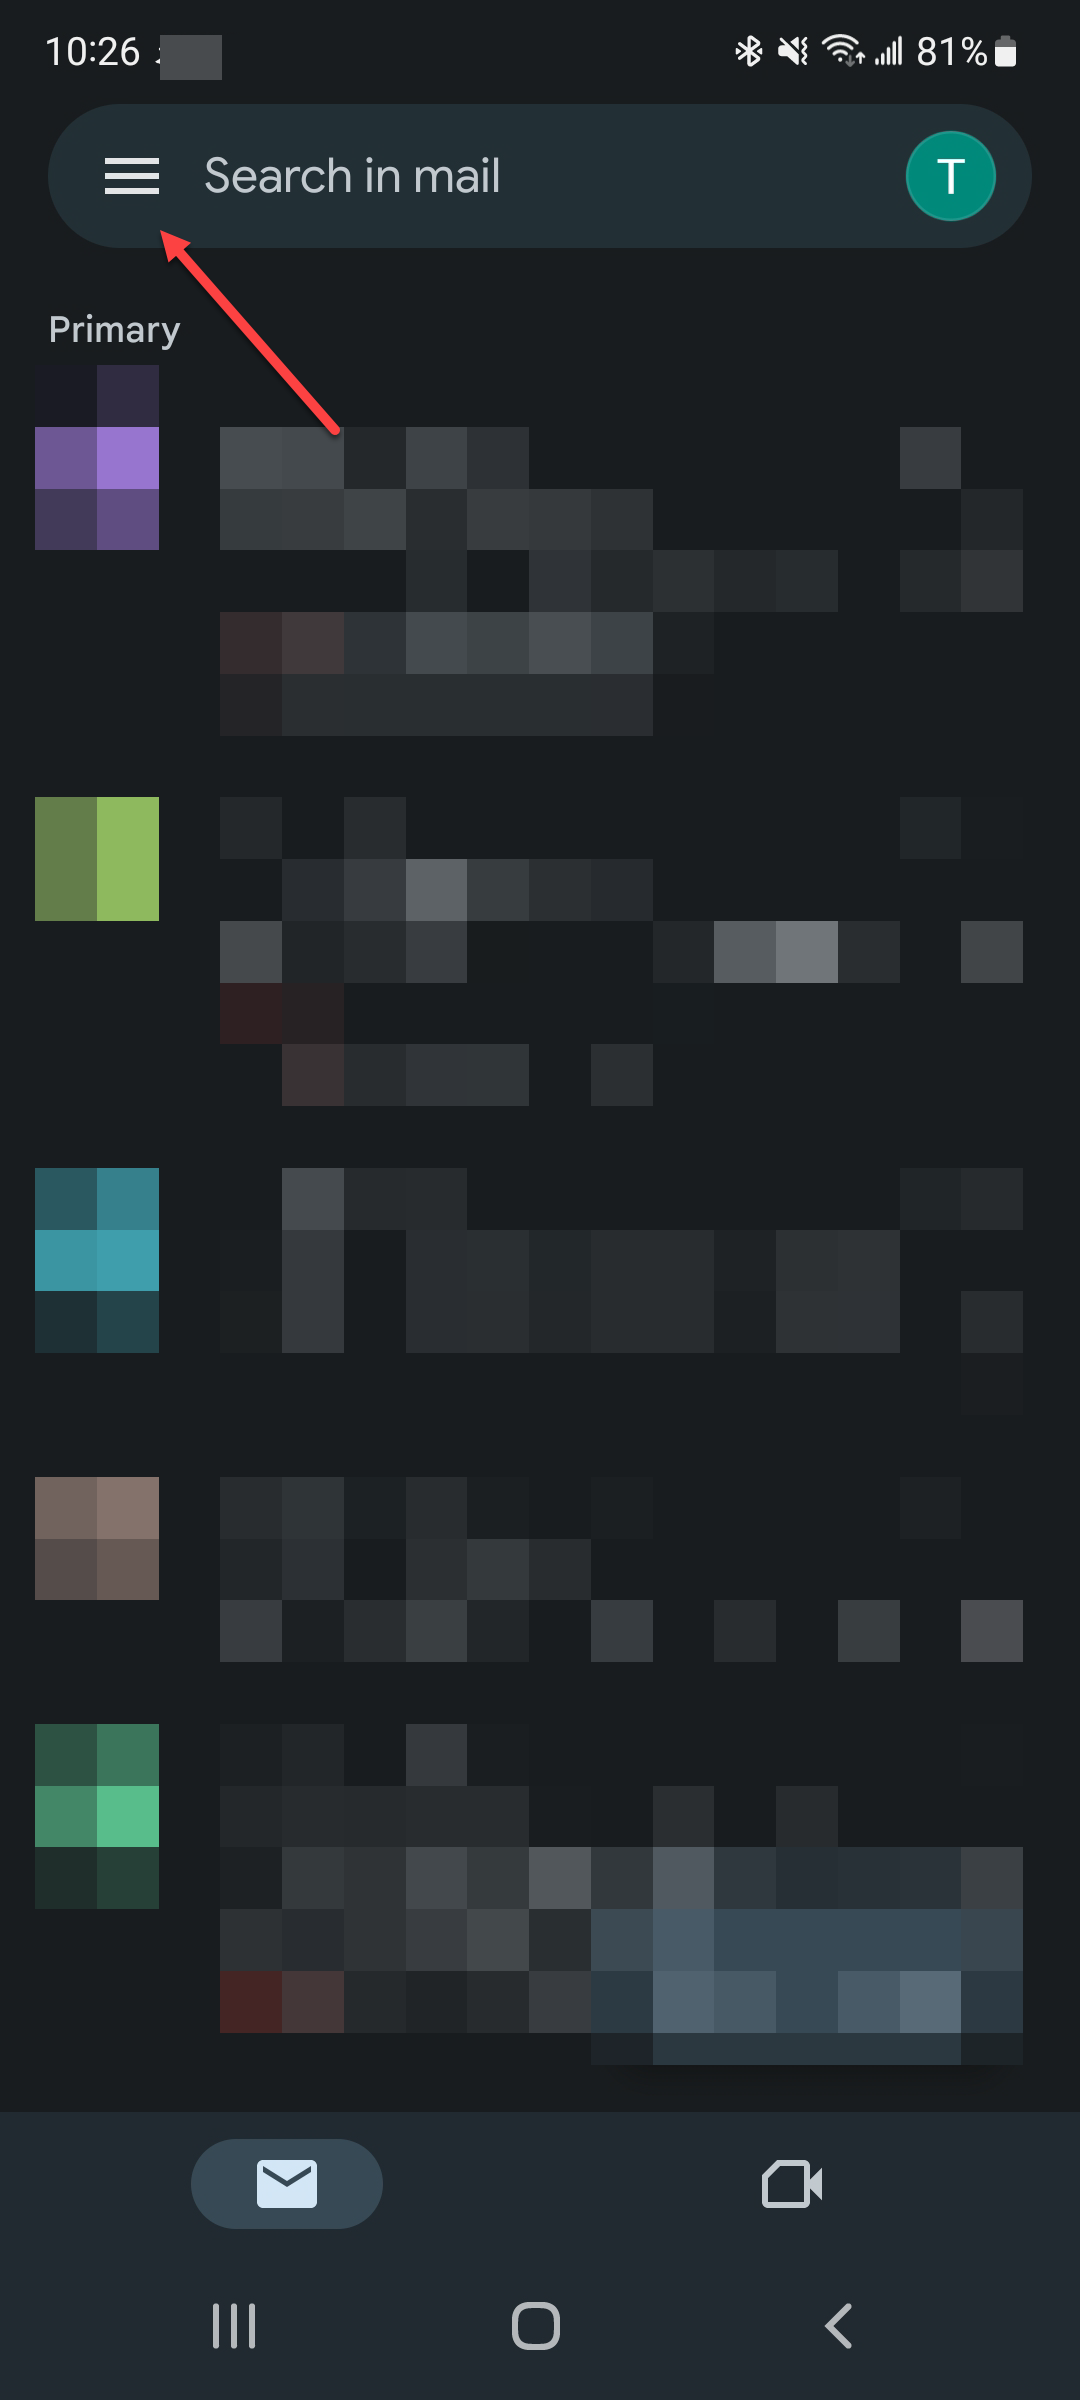 |
Scroll to the bottom, tap Settings | 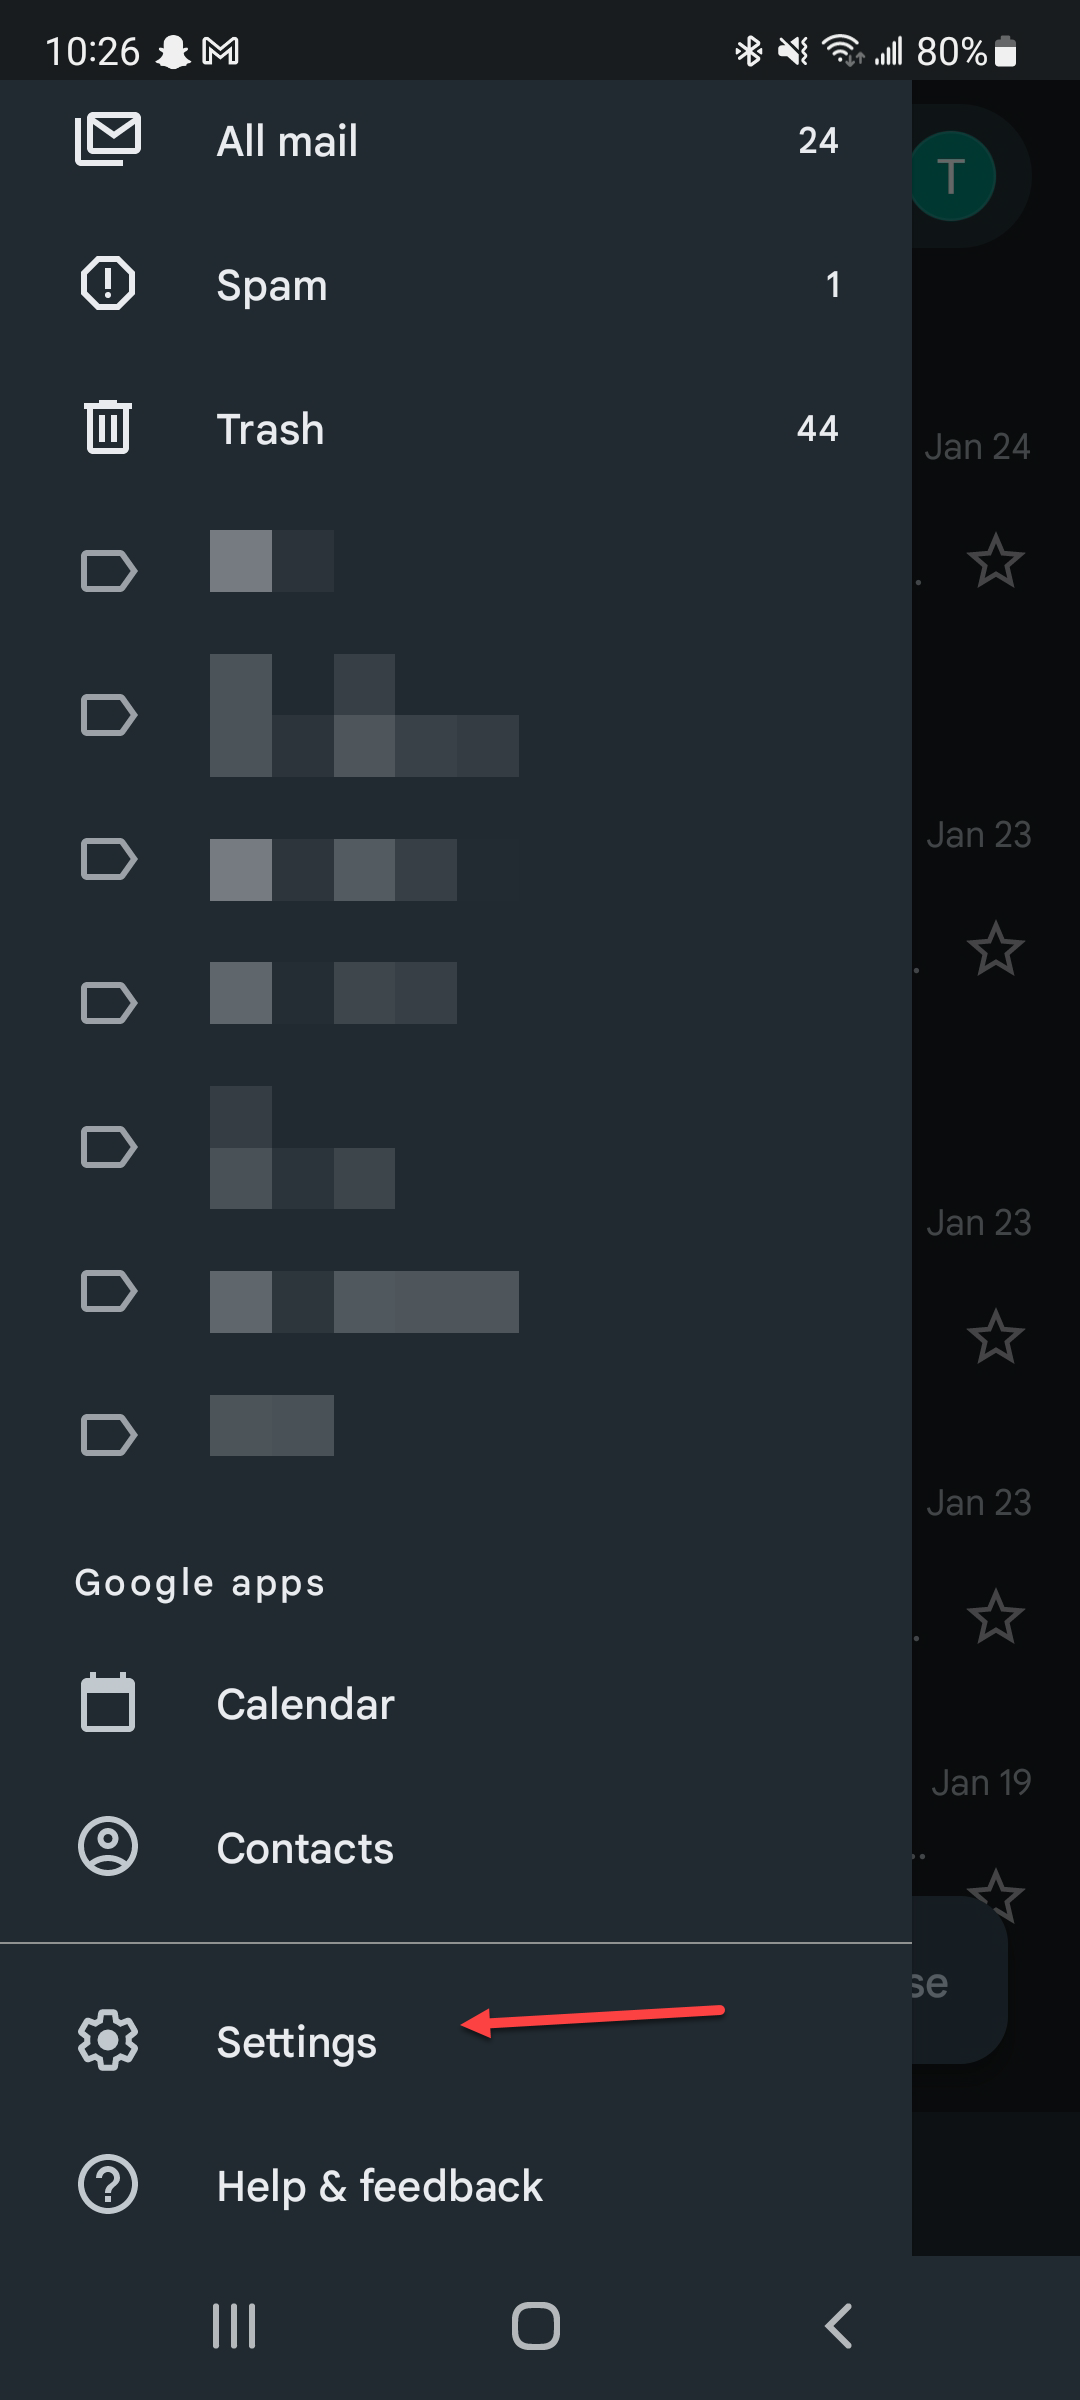 | |
Tap Add Account | 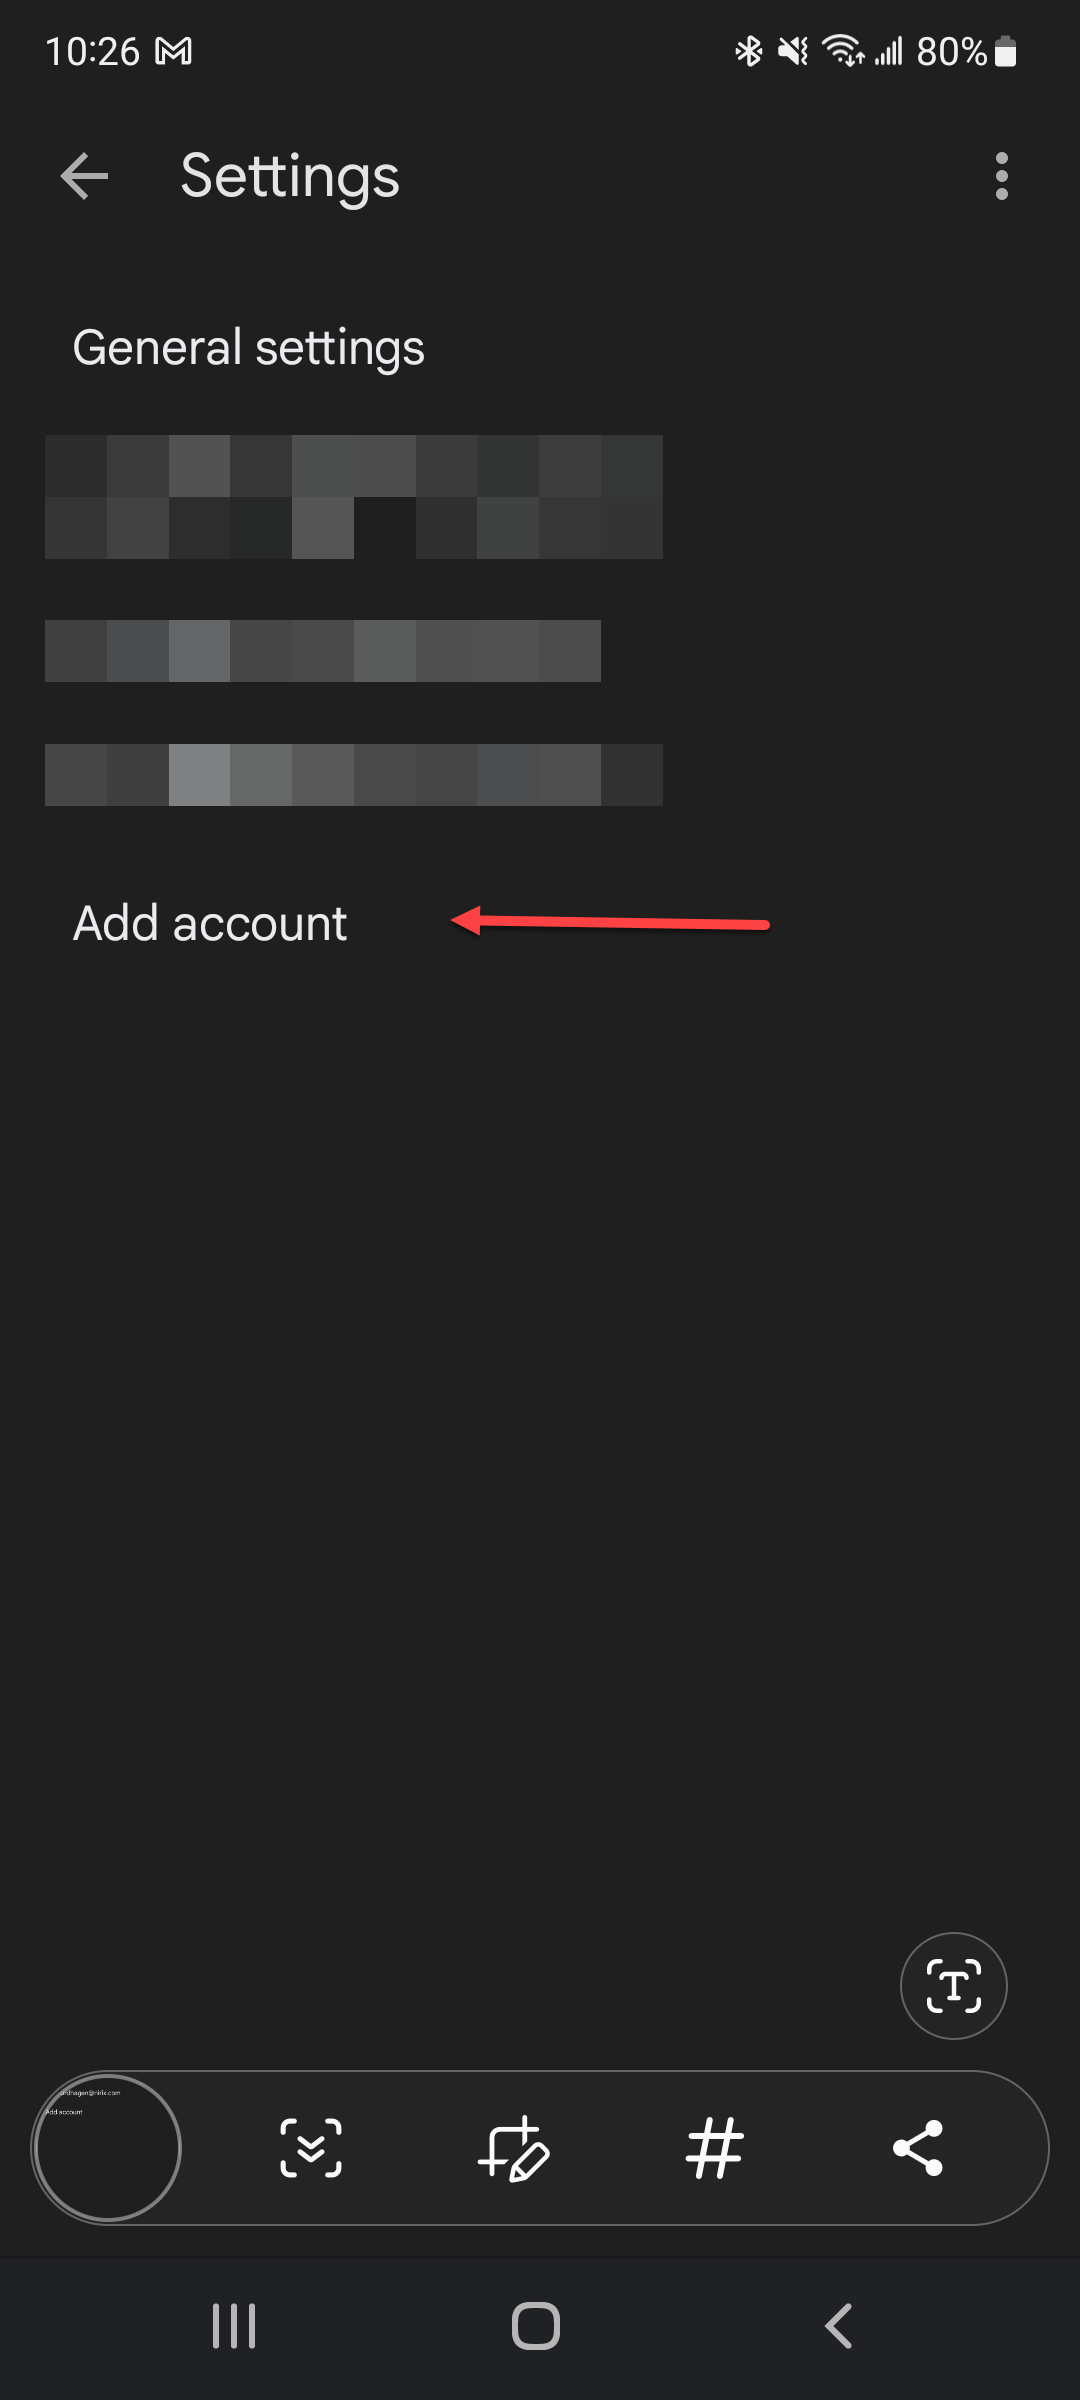 | |
Tap Exchange and Office 365 |  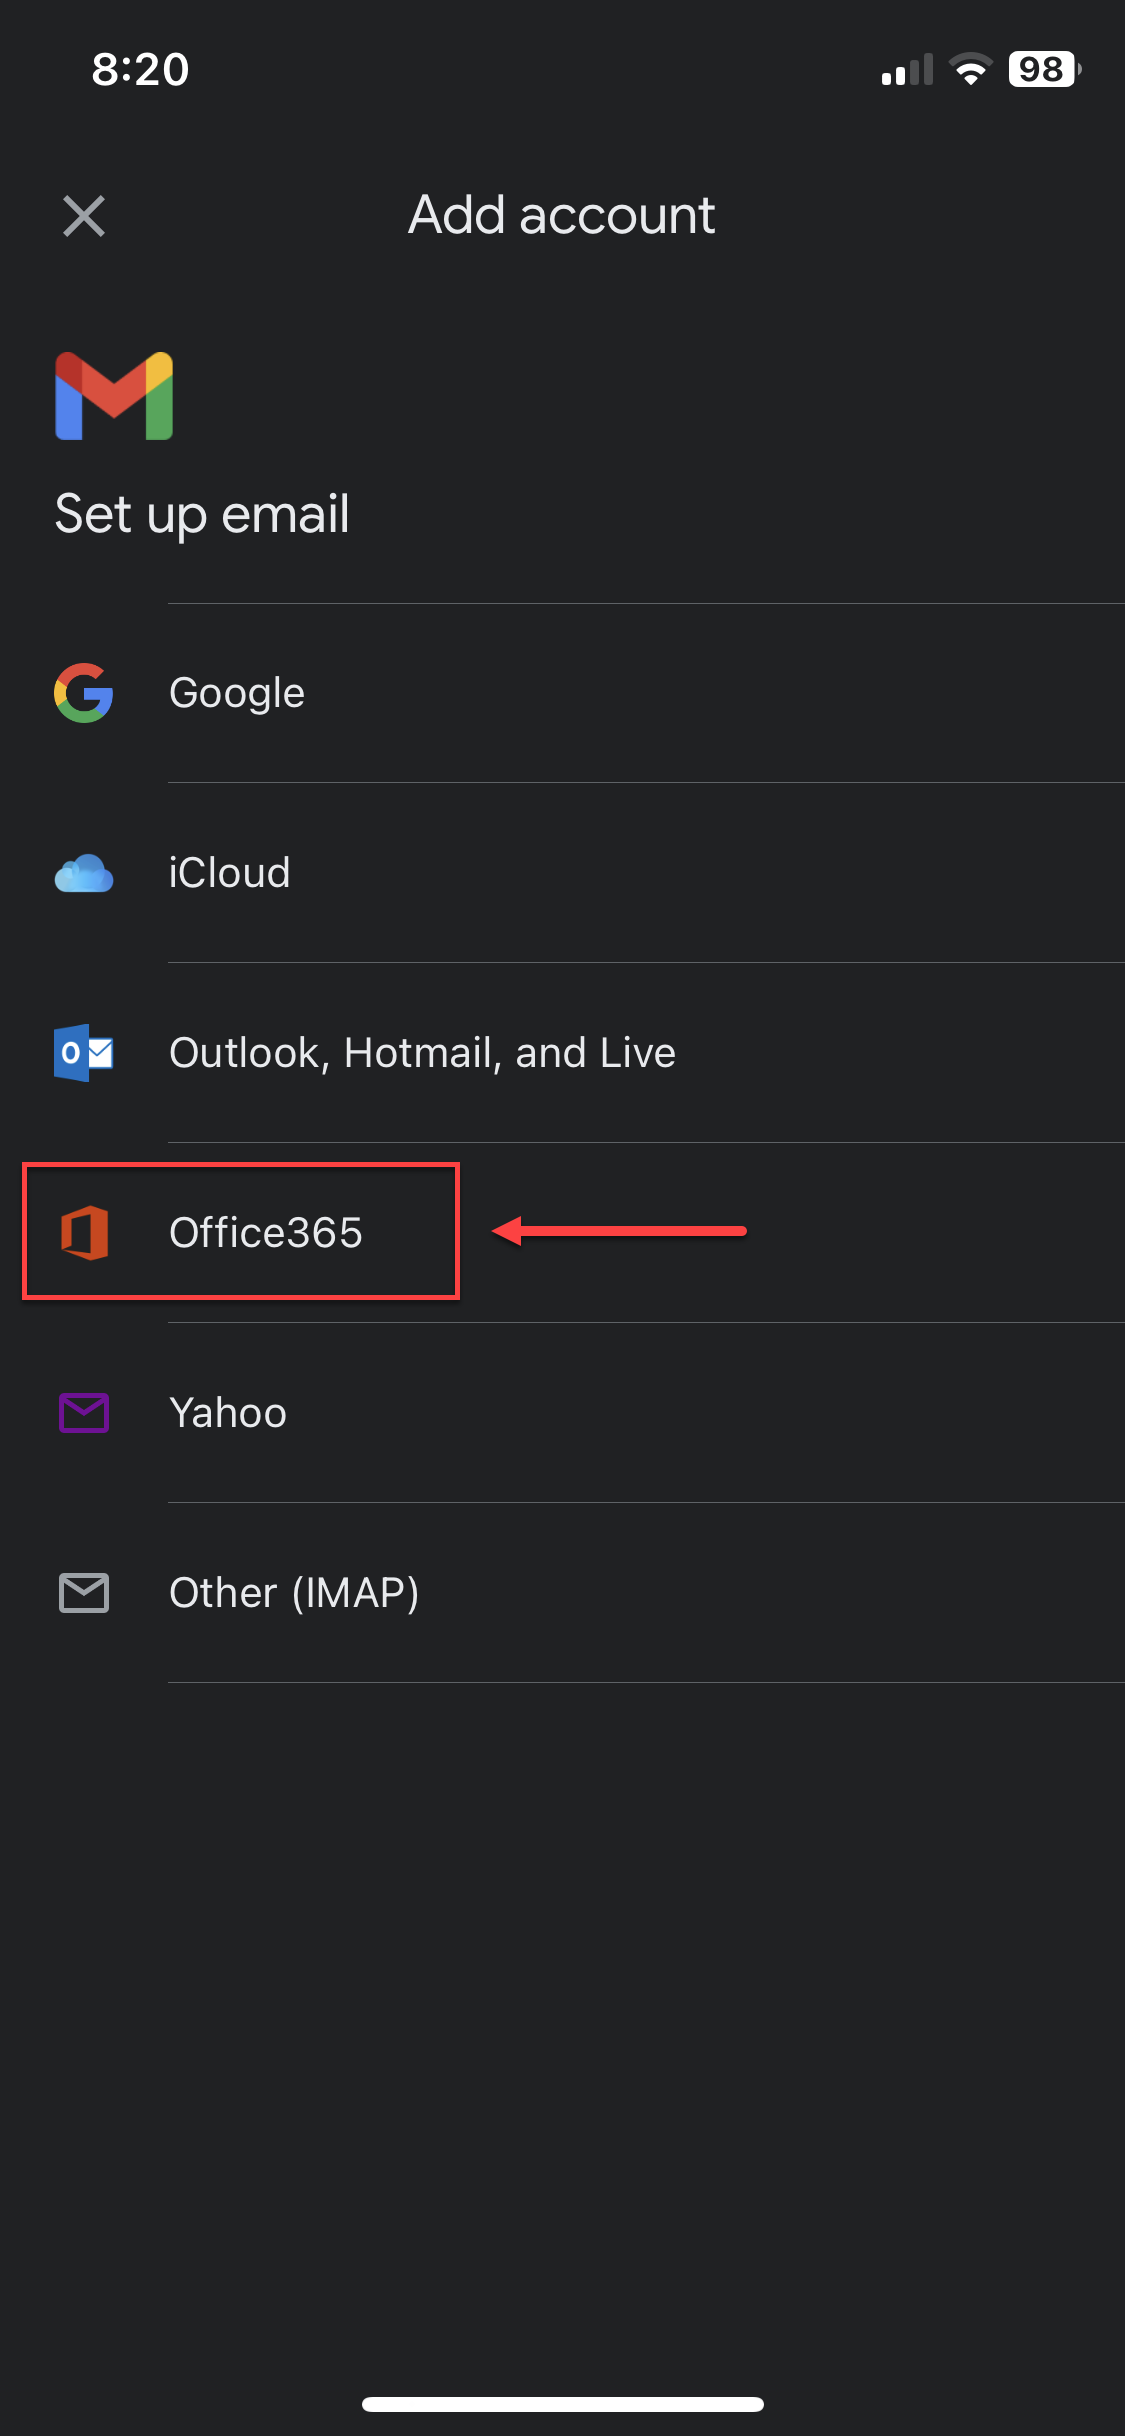 | |
Enter email and address and password. In Server enter webmail.poweredbynirix.com  ; you’ll have to do this twice for both ‘Incoming’ and ‘Outgoing’ server settings. You can leave the other settings as is. | 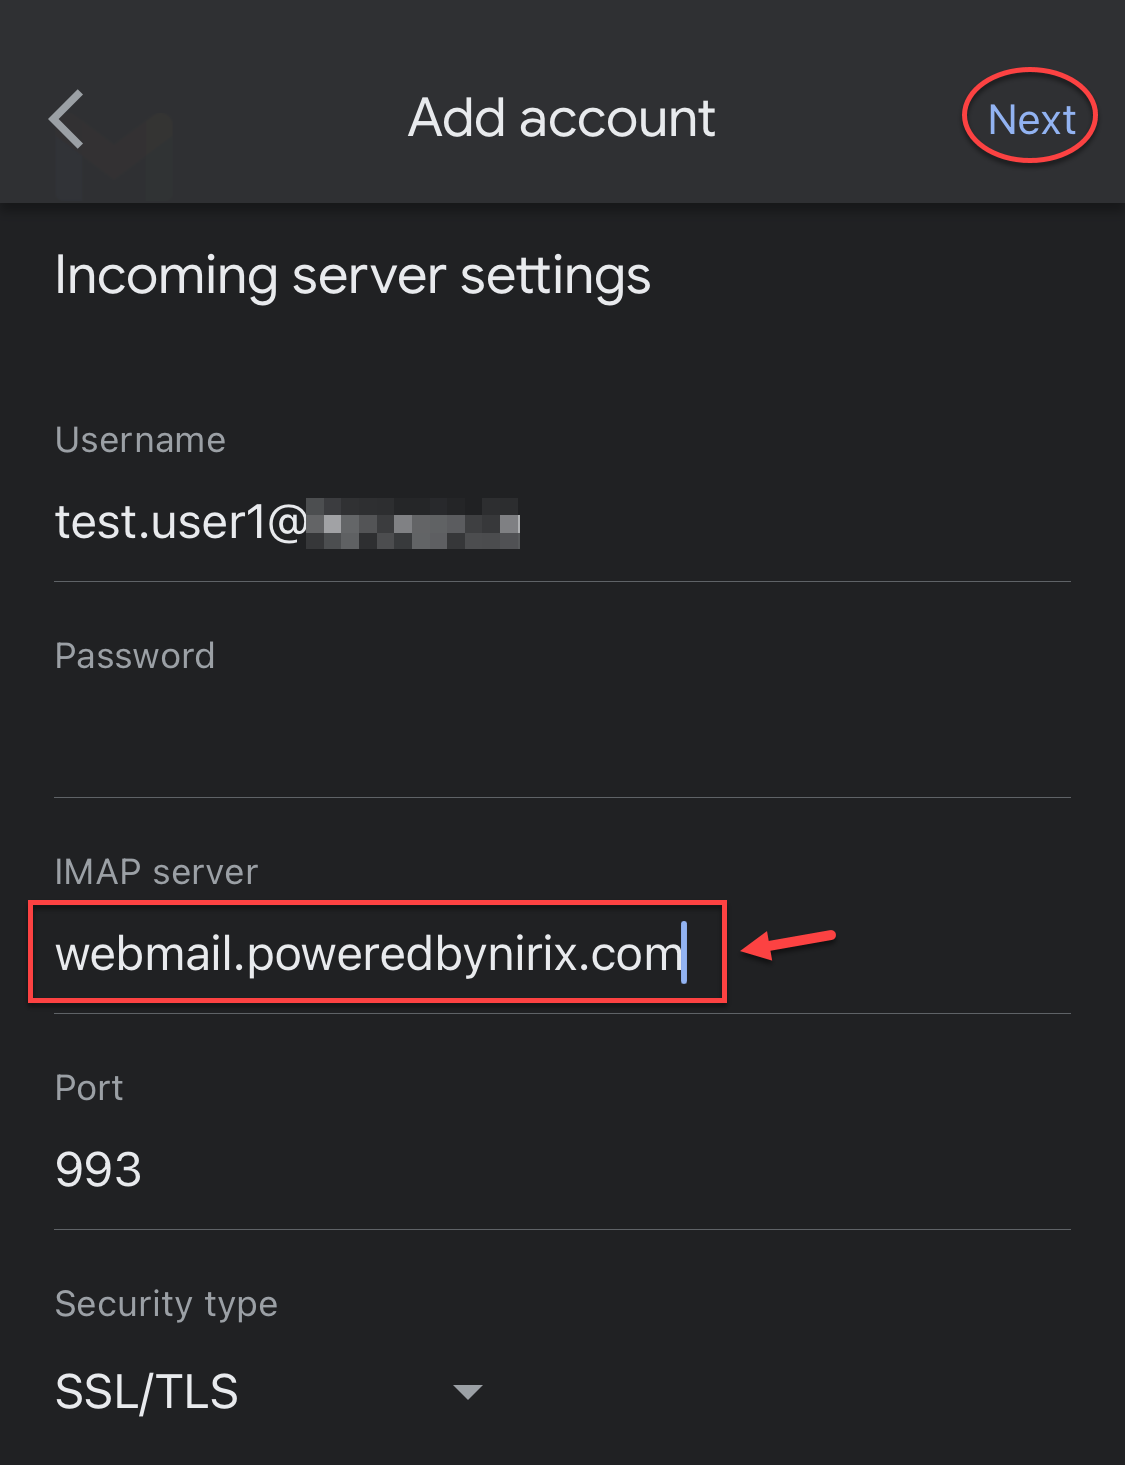 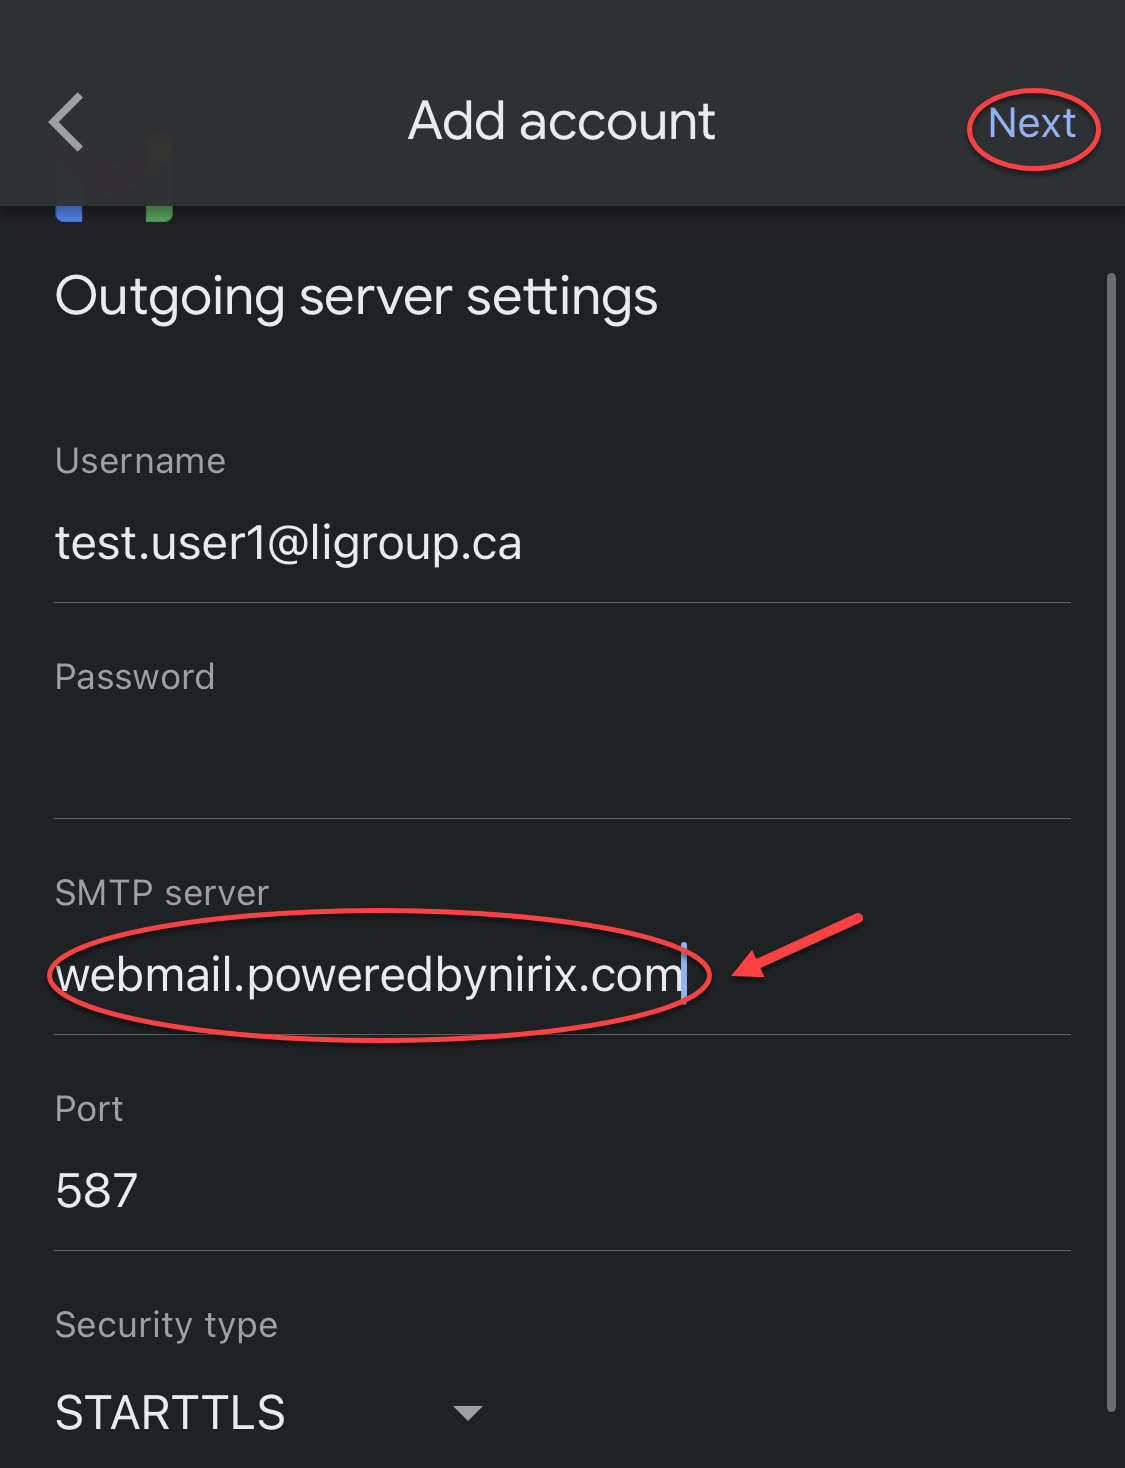 | |
Your account is ready !  - you’ll just need to enter your name. | 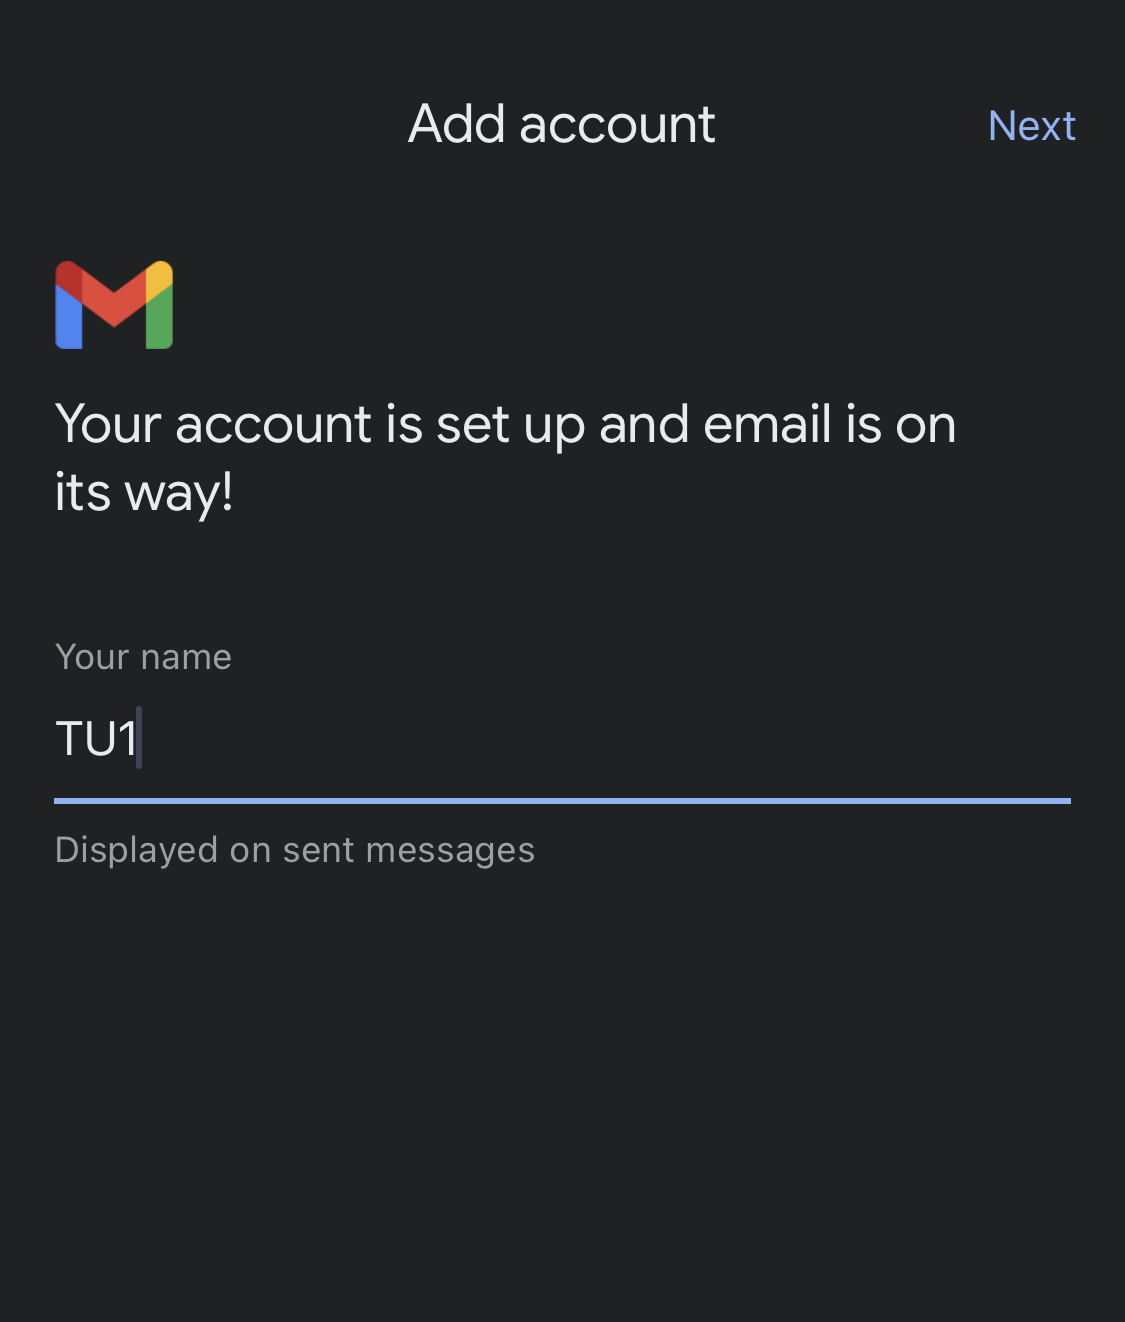 |
| Info |
|---|
The changes documented above are specific to the NIRIX Shared Hosting Environment only. |
...